Wild Clay - my journey and tips for yours
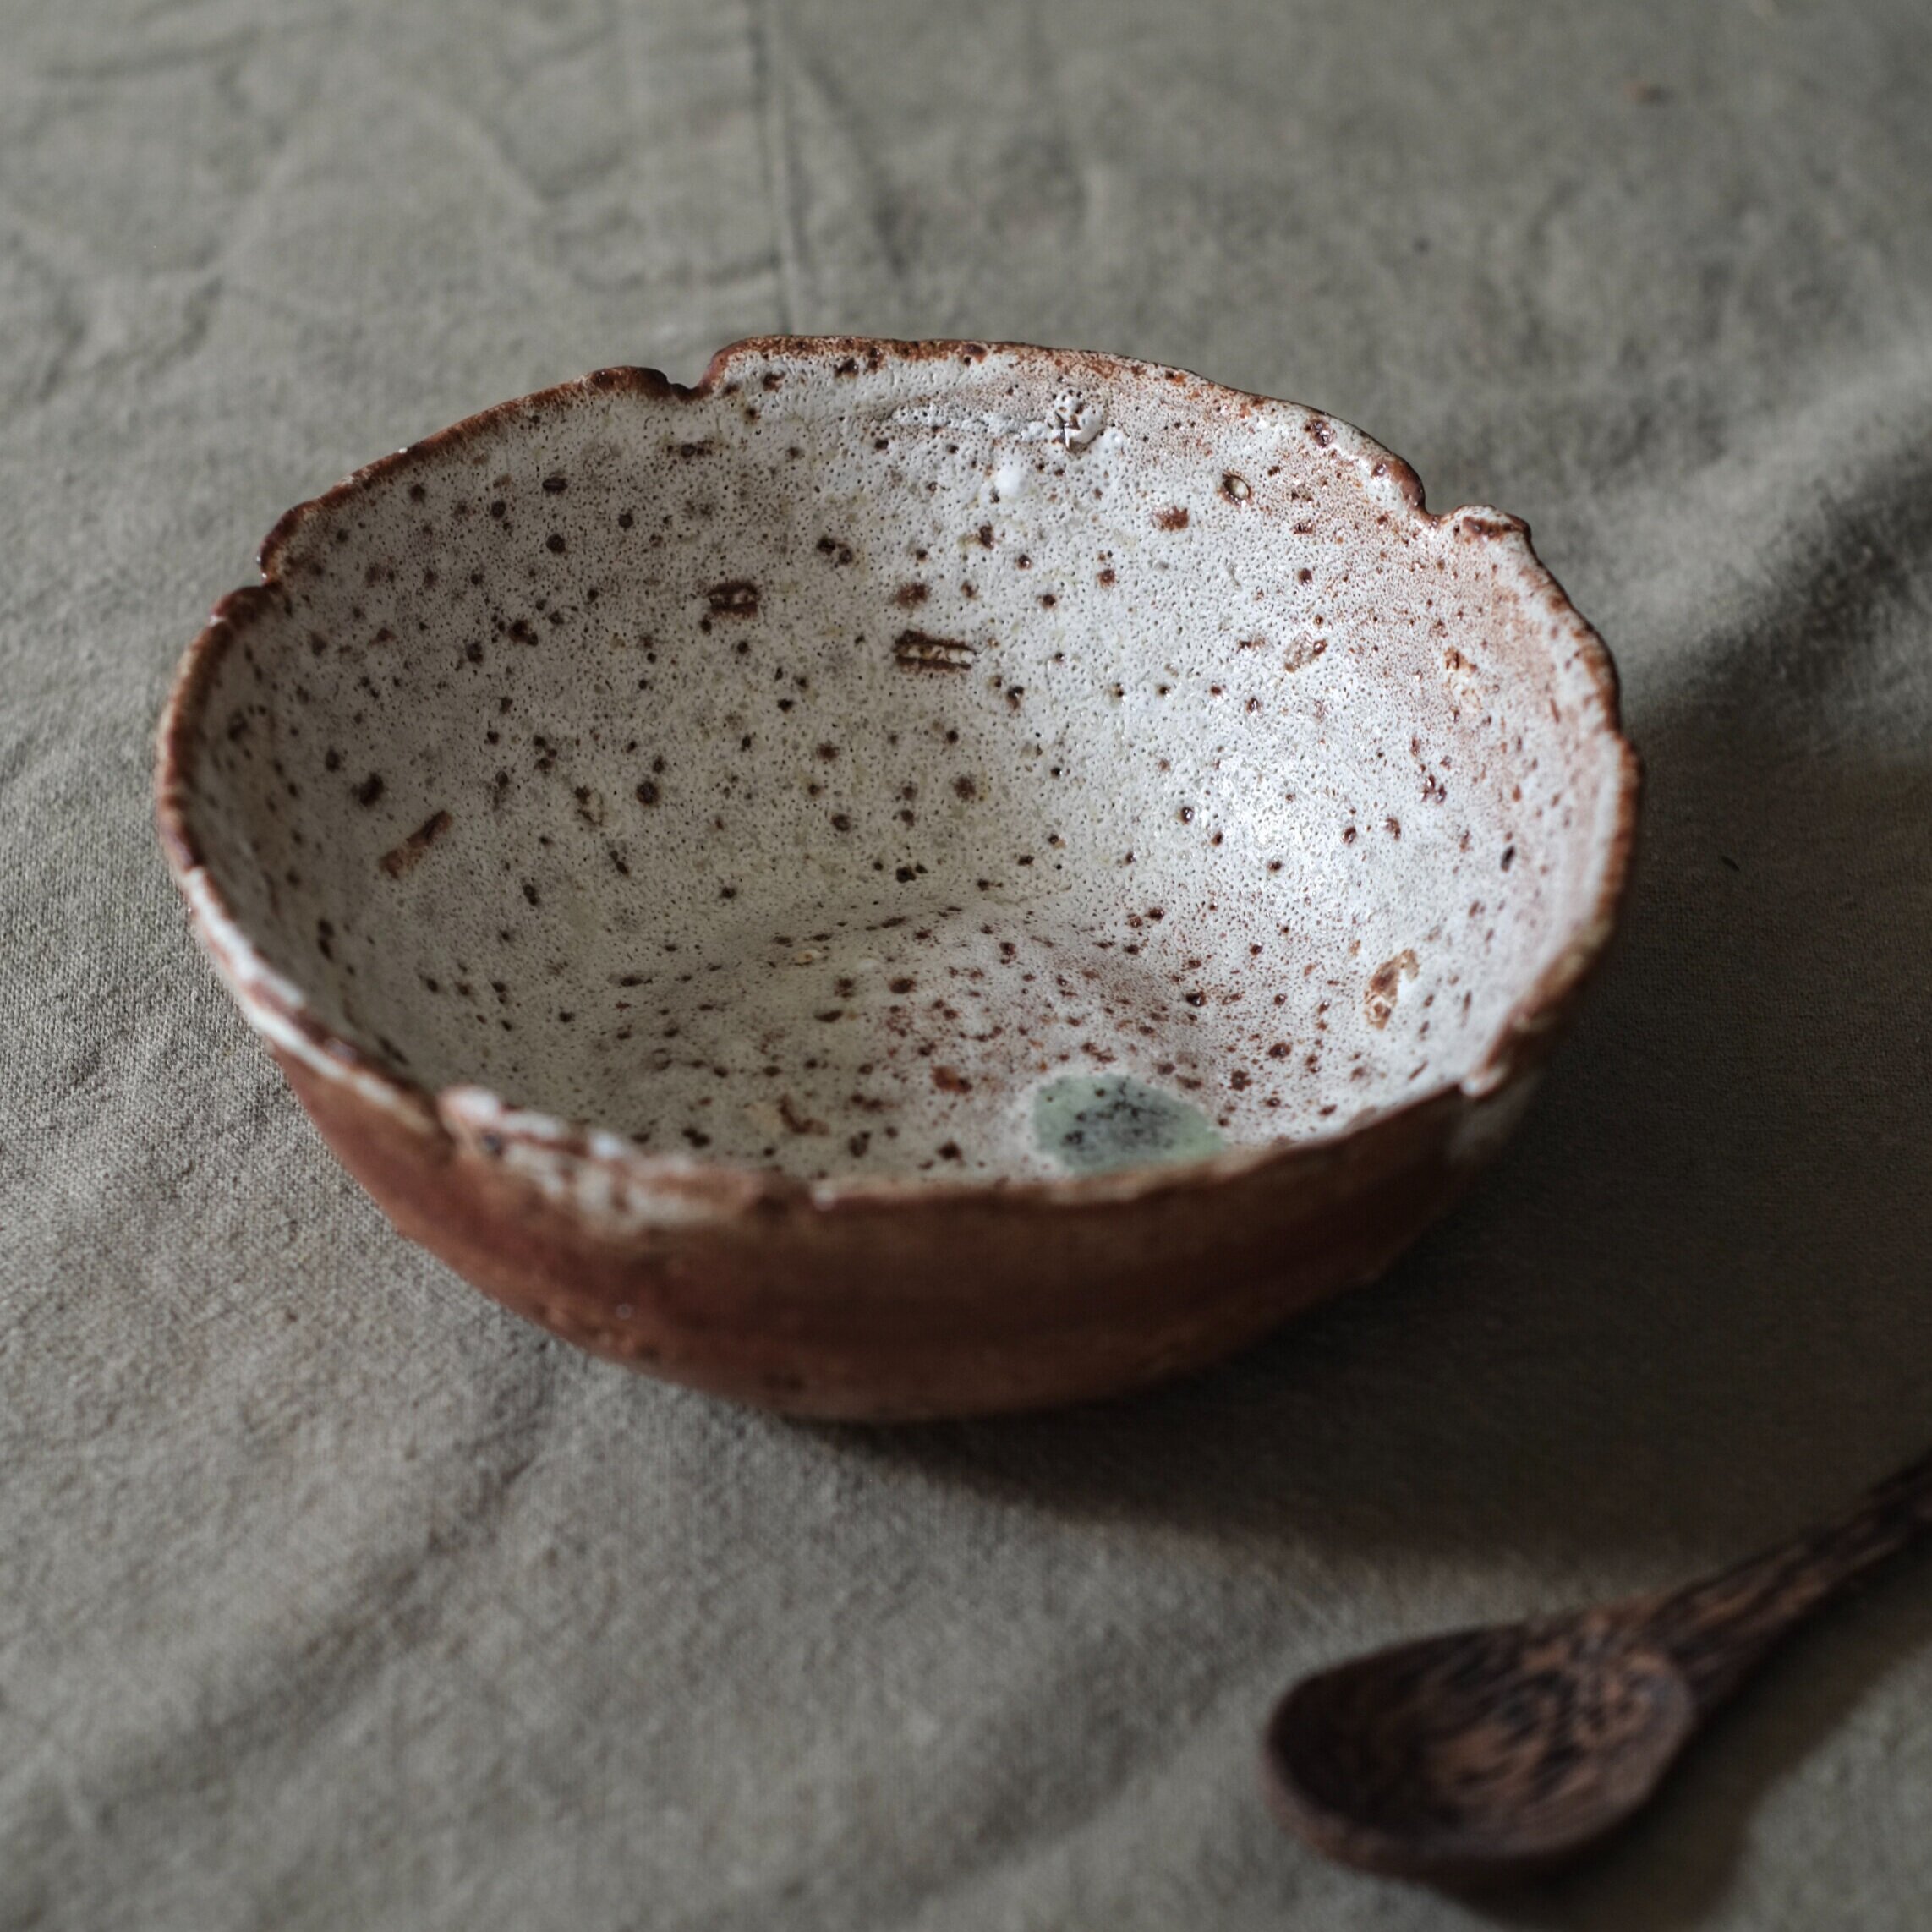
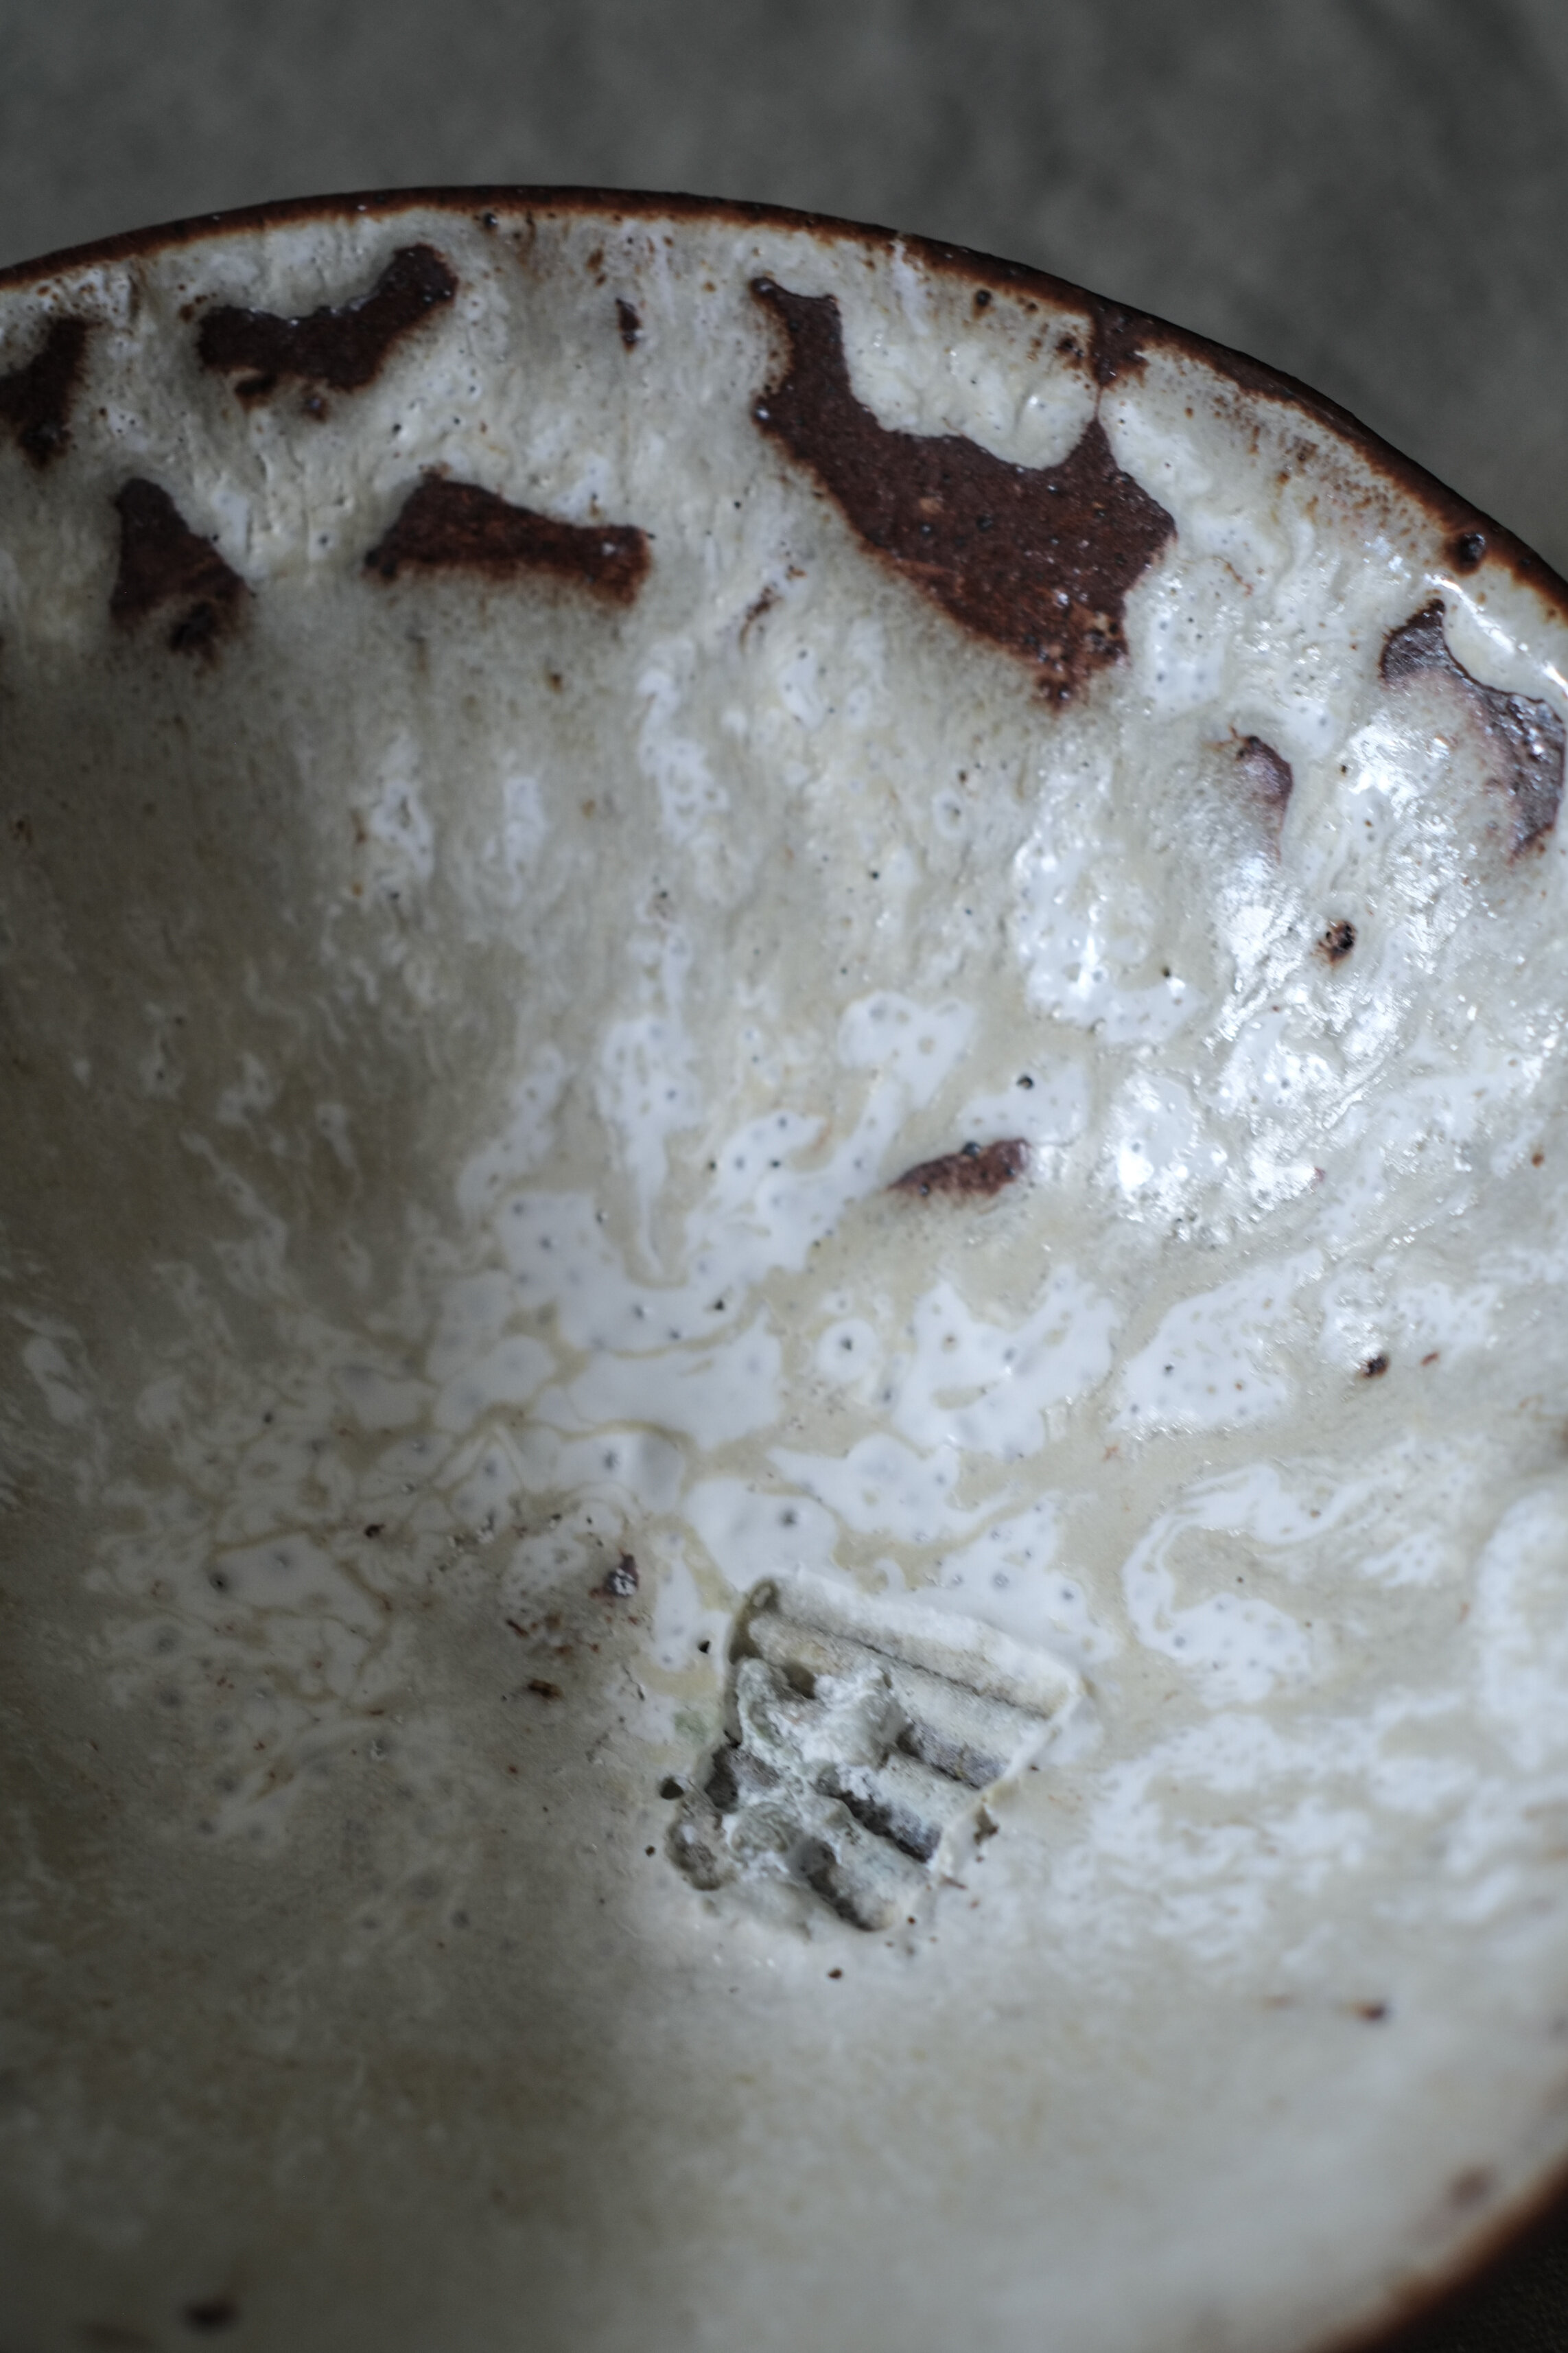
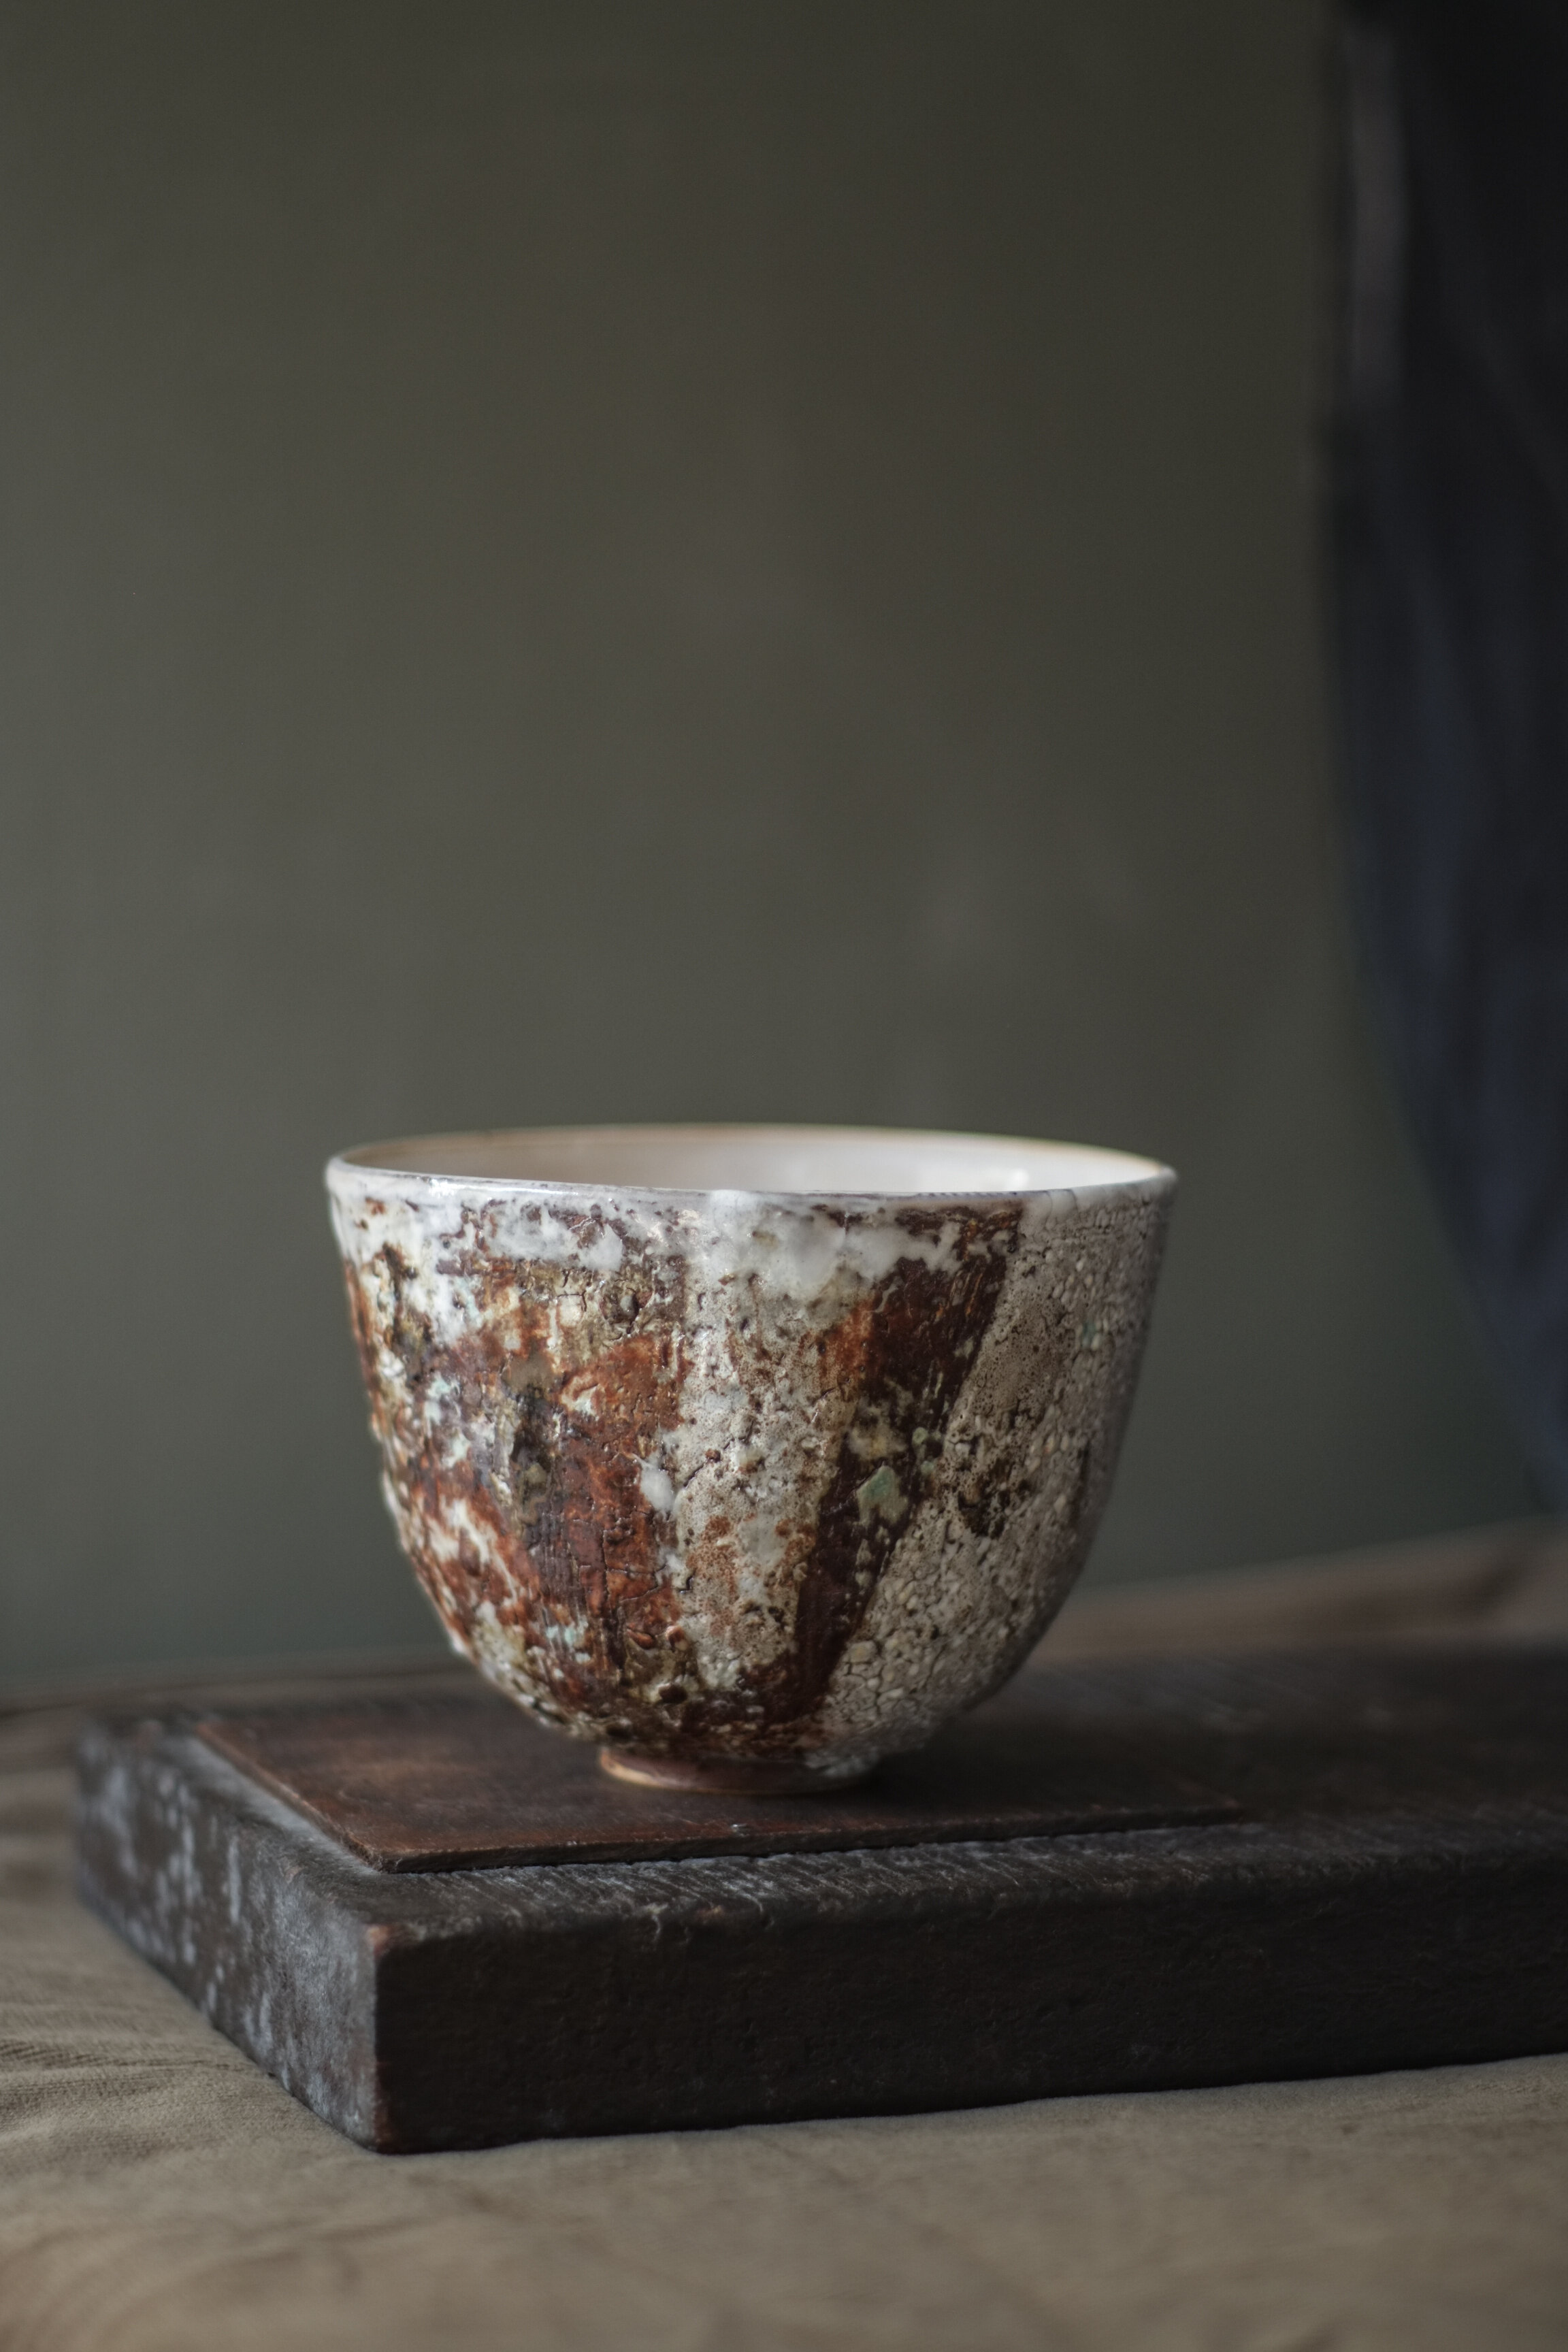
Wheel thrown and stoneware-fired, wild clay bowl with melted sea glass.
What is wild clay?
Wild clay, foraged clay, local clay, native clay. These are lots of names for clay that is found in nature and not shop-bought. But what is clay? Put simply, clay is any earthy material that contains particles less than 4 micrometres (μm), that’s a tiny 0.004 mm - the width of a strand of spider’s web. About 80 % of the earth’s surface contains clay, so the chances are that you’re going to come across it at some point. River beds, road banks, coastal cliffs are just some of the places that you may be able to forage for clay.
Wild clay collected from in Alphin’s brook, Devon, down the valley from my studio.
I live in Devon, on a clay soil and there is a little stream, or brook at the bottom of the valley. The stream cuts through the clay, pieces of clay fall out of the banks, are cleaned up by the running water and they are ripe for the picking! Easily recognisable as golden nuggets. Of course, I could (and have) dug this same clay out of the ground, outside of my studio, or down the lane, where the tractor has cut the banks of the road with its massive tyres. But discovering the clay in the stream, shaped into rounded lumps, just seems that bit more magical.
But how do I know if I can make pottery with wild clay?
I suppose the first question really is, how do I even know that the mud or dirt I’m looking at is clay?
Well there are a couple of tell-tale signs. If the ‘mud’ is wet then it could be clay if it’s sticky, slick and soft. I go around smushing mud between my fingers to see if it matches these criteria. Obviously be carefully if it’s an area of high dog-walking traffic - you know what I mean. If the area of dirt in question is dry, then look for signs of desiccation cracks, crazy paving style cracks on the surface are often a sign of clay.
Lastly, why not back up your findings (or start with) with a local geology map, a quick Google search can probably tell you what you’re standing on.
The start of my wild story, starts with lovely, sticky, slick and soft clay and here’s what I did to test its suitability for pottery…
The plasticity test
Roll a piece of your found clay into a sausage and see you can bend it into a rainbow without it breaking, If it holds its shape then you know that your clay is probably plastic enough for making things, without it crumbling like short crust pastry (although don’t quote me on that, I’ve never made short crust pastry, only eaten it). If you want to get into the science behind plasticity, you can read more about it here.
Wild clay plasticity test - passed!
The firing test
Make a little pinch pot test piece or a tile, pop it into a bowl (made from your regular, known clay) and place the whole thing into your earthenware, bisque firing (my bisque firings are to 1000 °C ). The bowl is a safety container, in case your wild clay decides to melt into a puddle and run all over your kiln shelves. From what I hear, wild clay usually makes it to 1000 °C and earthenware (like a flower pot). If your clay successfully fires in your bisque, then pop it into your stoneware firing, again inside a safety bowl. I fired mine to cone 7, in my usual firing schedule.
Bisque fired tile (left) and stoneware-fired tile (right)
The firing was successful! the clay bisque-fired to a beautiful terracotta orange and stoneware-fired to a rich, chocolate brown. The small cracks and ‘imperfections’ are a result of the presence of little stones and roots that burnt out but I was happy with this rustic, earthy look.
How do I know if the clay has matured or is overfired?
Apart from the obvious, which is that your clay has melted into an offensive puddle in your kiln, there are other ways to see whether your clay has overfired as well as seeing if it has matured. Without going into the real nitty gritty of it here, you can simply look at the shrinkage of your fired clay (ok, let’s get slightly nitty gritty, because the scientist in me can’t resist a graph).
You can see in the example graph below (Fig. 1) that with increasing temperature, the clay becomes more dense and as a result, it shrinks. This is because the clay particles draw together to form a glass, also known as vitrification. The clay shrinks until it reaches its peak density, maximum shrinkage and vitrification. This is the stage where you have found the top temperature/cone to fire your wild clay to. Beyond that, the clay starts to become less dense and actually increases in size. You may even see the clay bloating in places, before melting.
If you look at my test tiles, you can see that the stoneware tile (right) is only slightly smaller than the bisqued tile (left), this tells me that perhaps my clay has reached it maximum density and has started to expand again. In other words, it may be slightly overfired. HOWEVER, I don’t really mind, and it’s easy to bung any wild clay pieces into my usual firings, without having to fire them separately.
If you really want to go the full hog, then you can make multiple test tiles, all equal size and thickness, and do multiple firings across the cone spectrum, graph their shrinkage and pinpoint the optimal temperature/cone for firing. While this is the thorough way, I’m happy sticking with the simplest way, at least with this clay.
Figure 1. Graph to show the change in clay shrinkage and density with increasing temperature - please note this graph is not from actual data and is merely a representation. Modified from Ceramics Arts Network here
Processing your clay
Now you’ve found that you can successfully fire your clay, you might want to go out and collect more, perhaps a bucket’s worth. Now here is the bit that has so far put me off working with wild clay.
If your clay contains too many stones and tree roots or is too dry or too wet to work with straight away, it may need a bit of processing. If it’s dry then you need to slake it (add water to it) to make it a liquid slurry, pass it through a sieve (Beth Peterson suggests a a 50 mesh screen), reclaim it by drying it out on some plaster or inside a pillowcase, wedge it up and go for it. Anja Slapničar has a a really great detailed explanation on how they dry out and process wild clay in Slovenia.
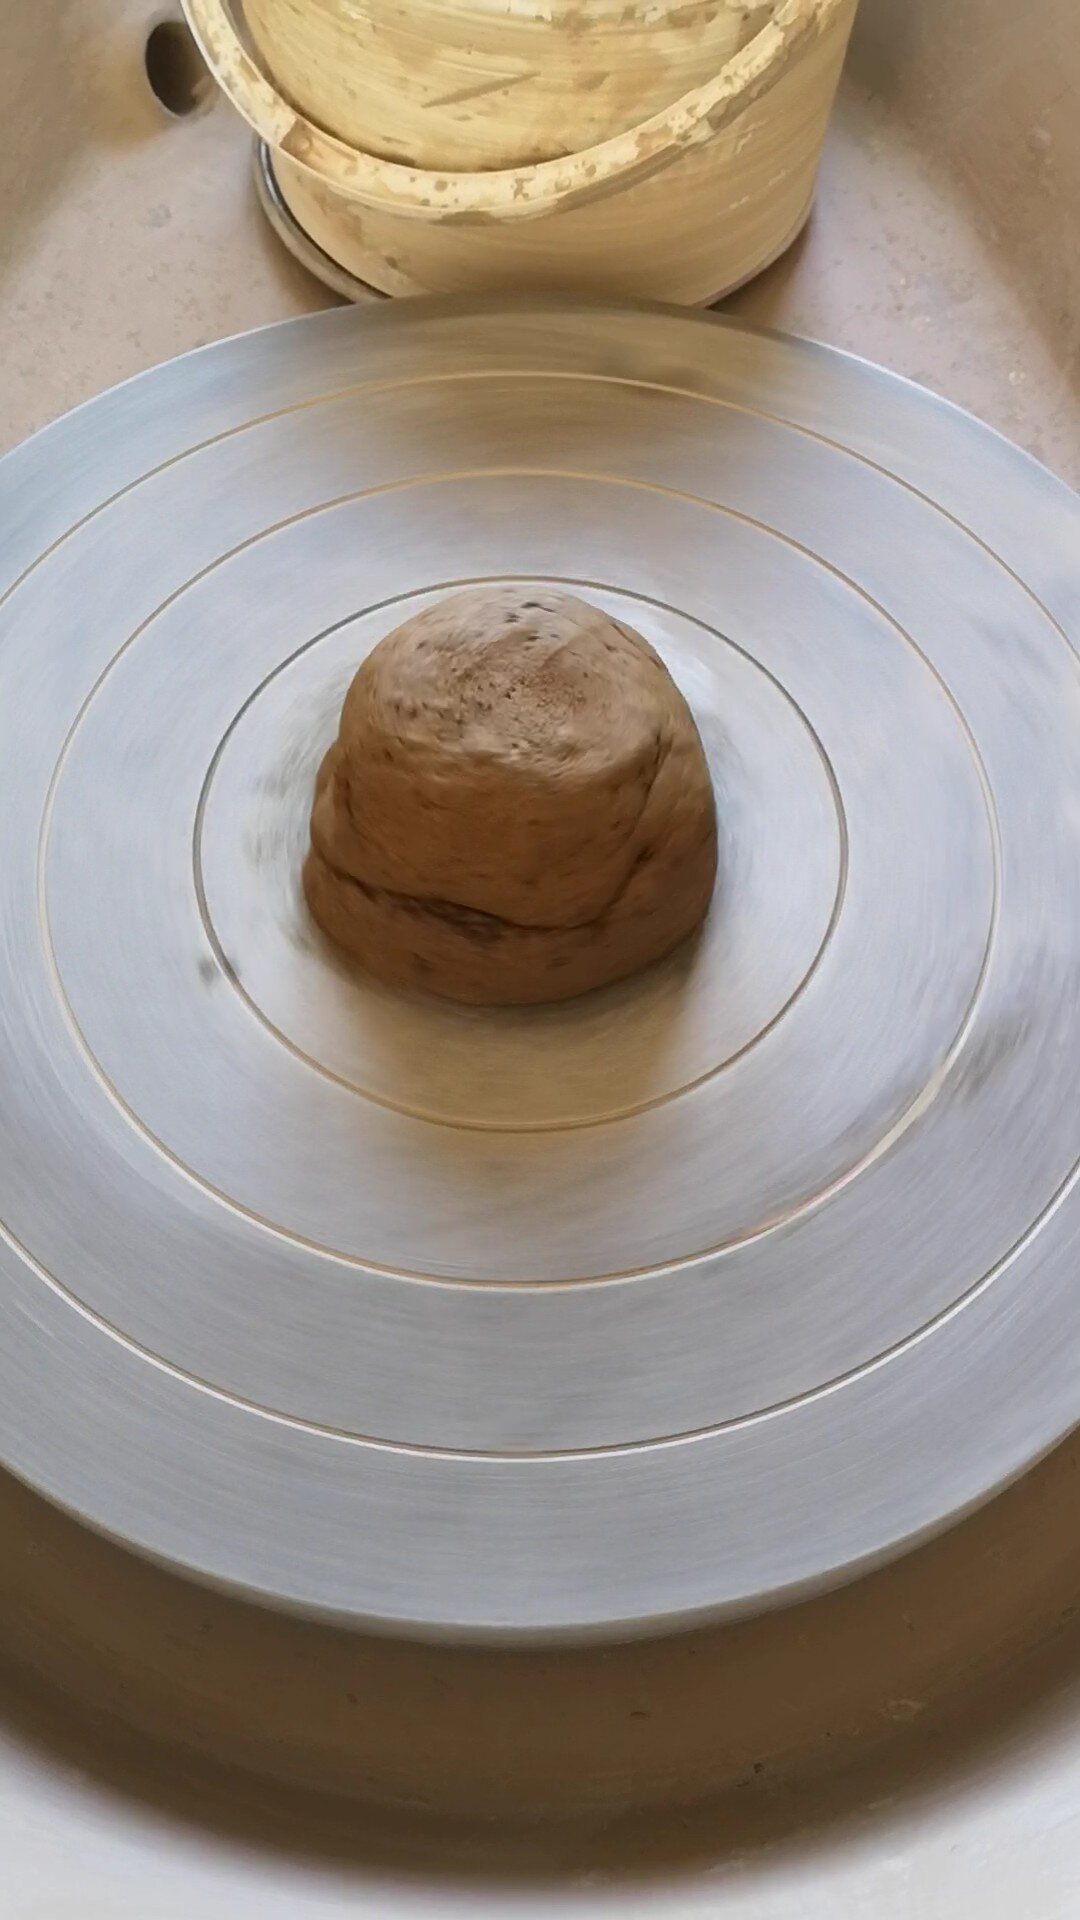
At the beginning of my wild clay journey I did not want the hassle of this processing and I simply collected the clay, pulled out any large rocks and roots, wedged the clay up and put it on the wheel, completely unprocessed. I was fortunate to be able to do this because the clay from the river was the perfect wetness to throw with. In the future though, I may process the clay a little more by making it into a slurry and sieving it, as pulling tiny stones and roots from the clay bit-by-bit is pretty time consuming!
I crumbled up the clay, pulled out any rocks and large roots (left), smushed the clay all back together (middle) and wedged it up ready for throwing (right)
Each piece of clay was a separate lump pulled out of the stream, the differences in colour may be due to differences in iron oxide content and/or organic matter content.
Despite the plant roots, other organic debris and some gravel, the clay was easy to throw with. I was, however, aware that because the clay hadn’t been sieved I was wary of hurting myself from unwanted sharp stones left in the clay. At one point I did pull out a shard of flint that looked like a bronze age arrow head. So be careful of hurting your hands, if throwing with unprocessed wild clay.
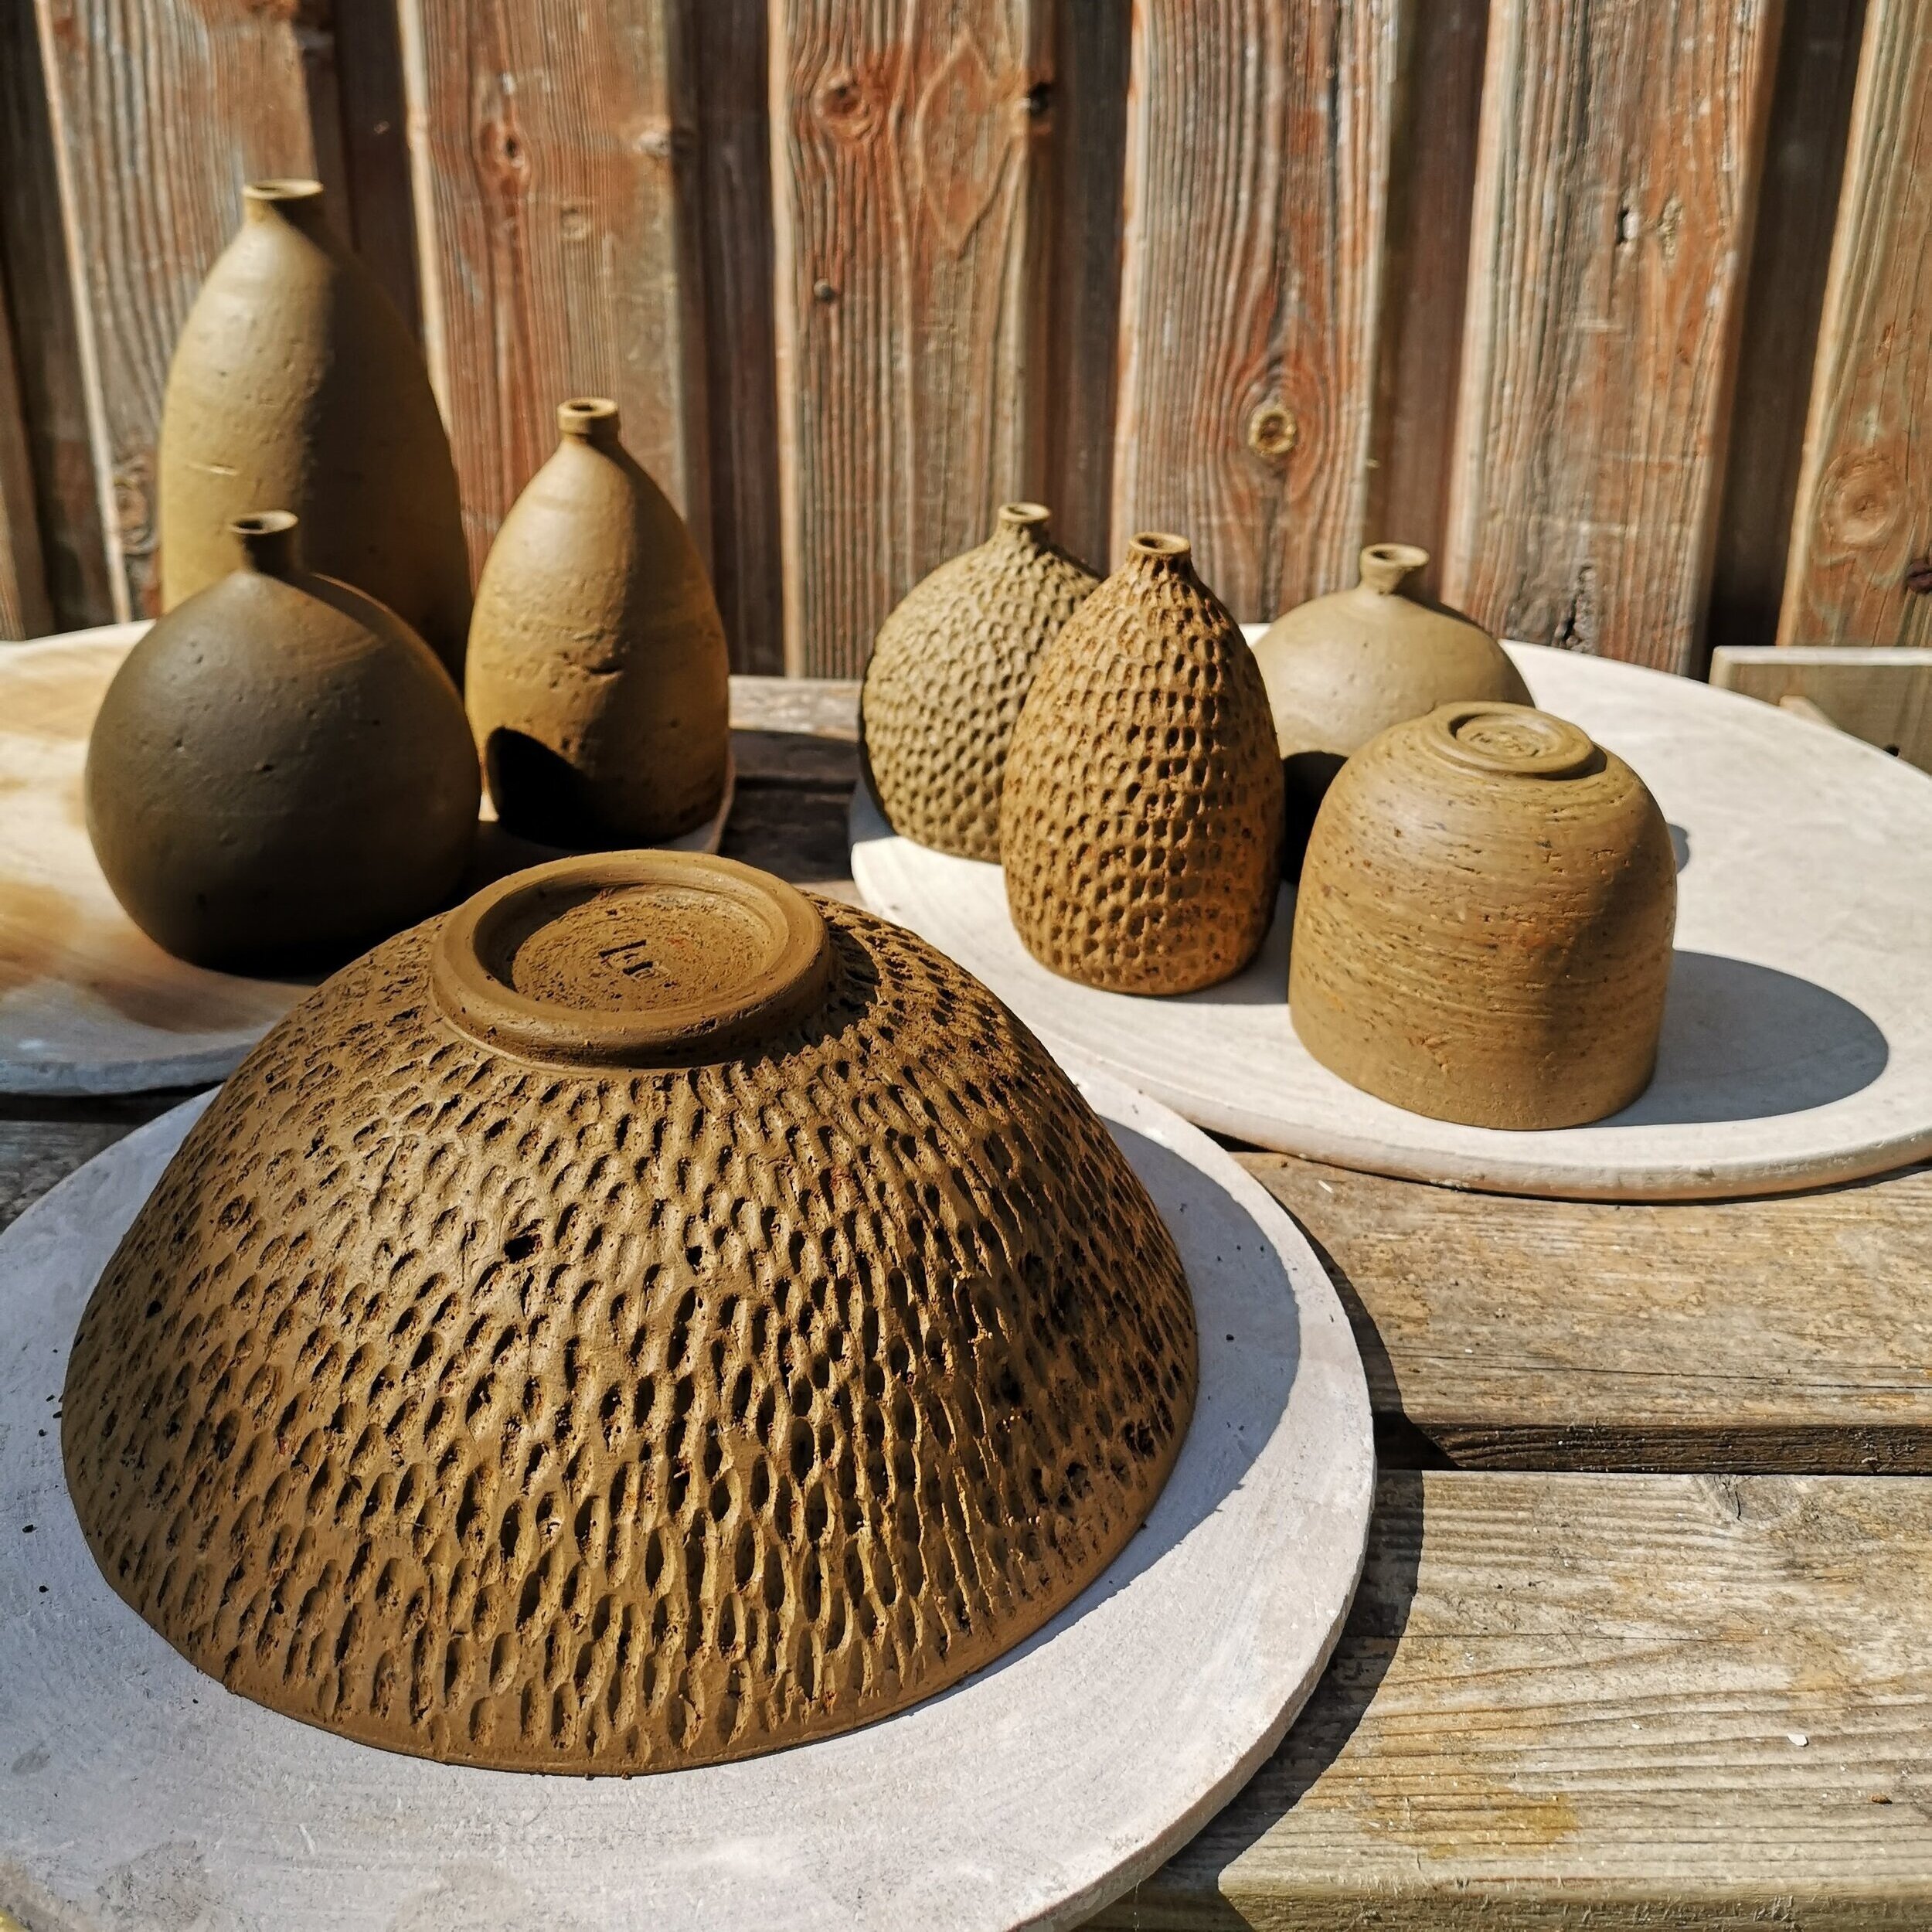
Freshly wheel-thrown and carved pots, drying in the sun.
Results - Ta Dah!
As with my test tiles, the clay turned the most beautiful terracotta orange at 1000 °C , I had to compare it with my shop bought flower pots and I must say, the wild clay glowed even more beautifully. I then went all in and dunked the wild clay pots in some of my glazes, ready to fire to stoneware.
While I went for the risky approach, I do recommend first testing glazes on wild clay test tiles, or little pinch bowls, because your glazes may not like your wild clay in the same way they like your tried and tested commercial clay. For example the glaze may not fit the clay body, meaning that clay and glaze shrink at different rates during the firing. This poor glaze fit could result in crawling, crazing, pitting, pinholing, to name a few. While these rather wonderful names are known as glaze defects, they can also be absolutely beautiful and I welcome them into my rustic world of wild clay pottery. If, however you do not want these glaze defects, you can read about correcting them here.
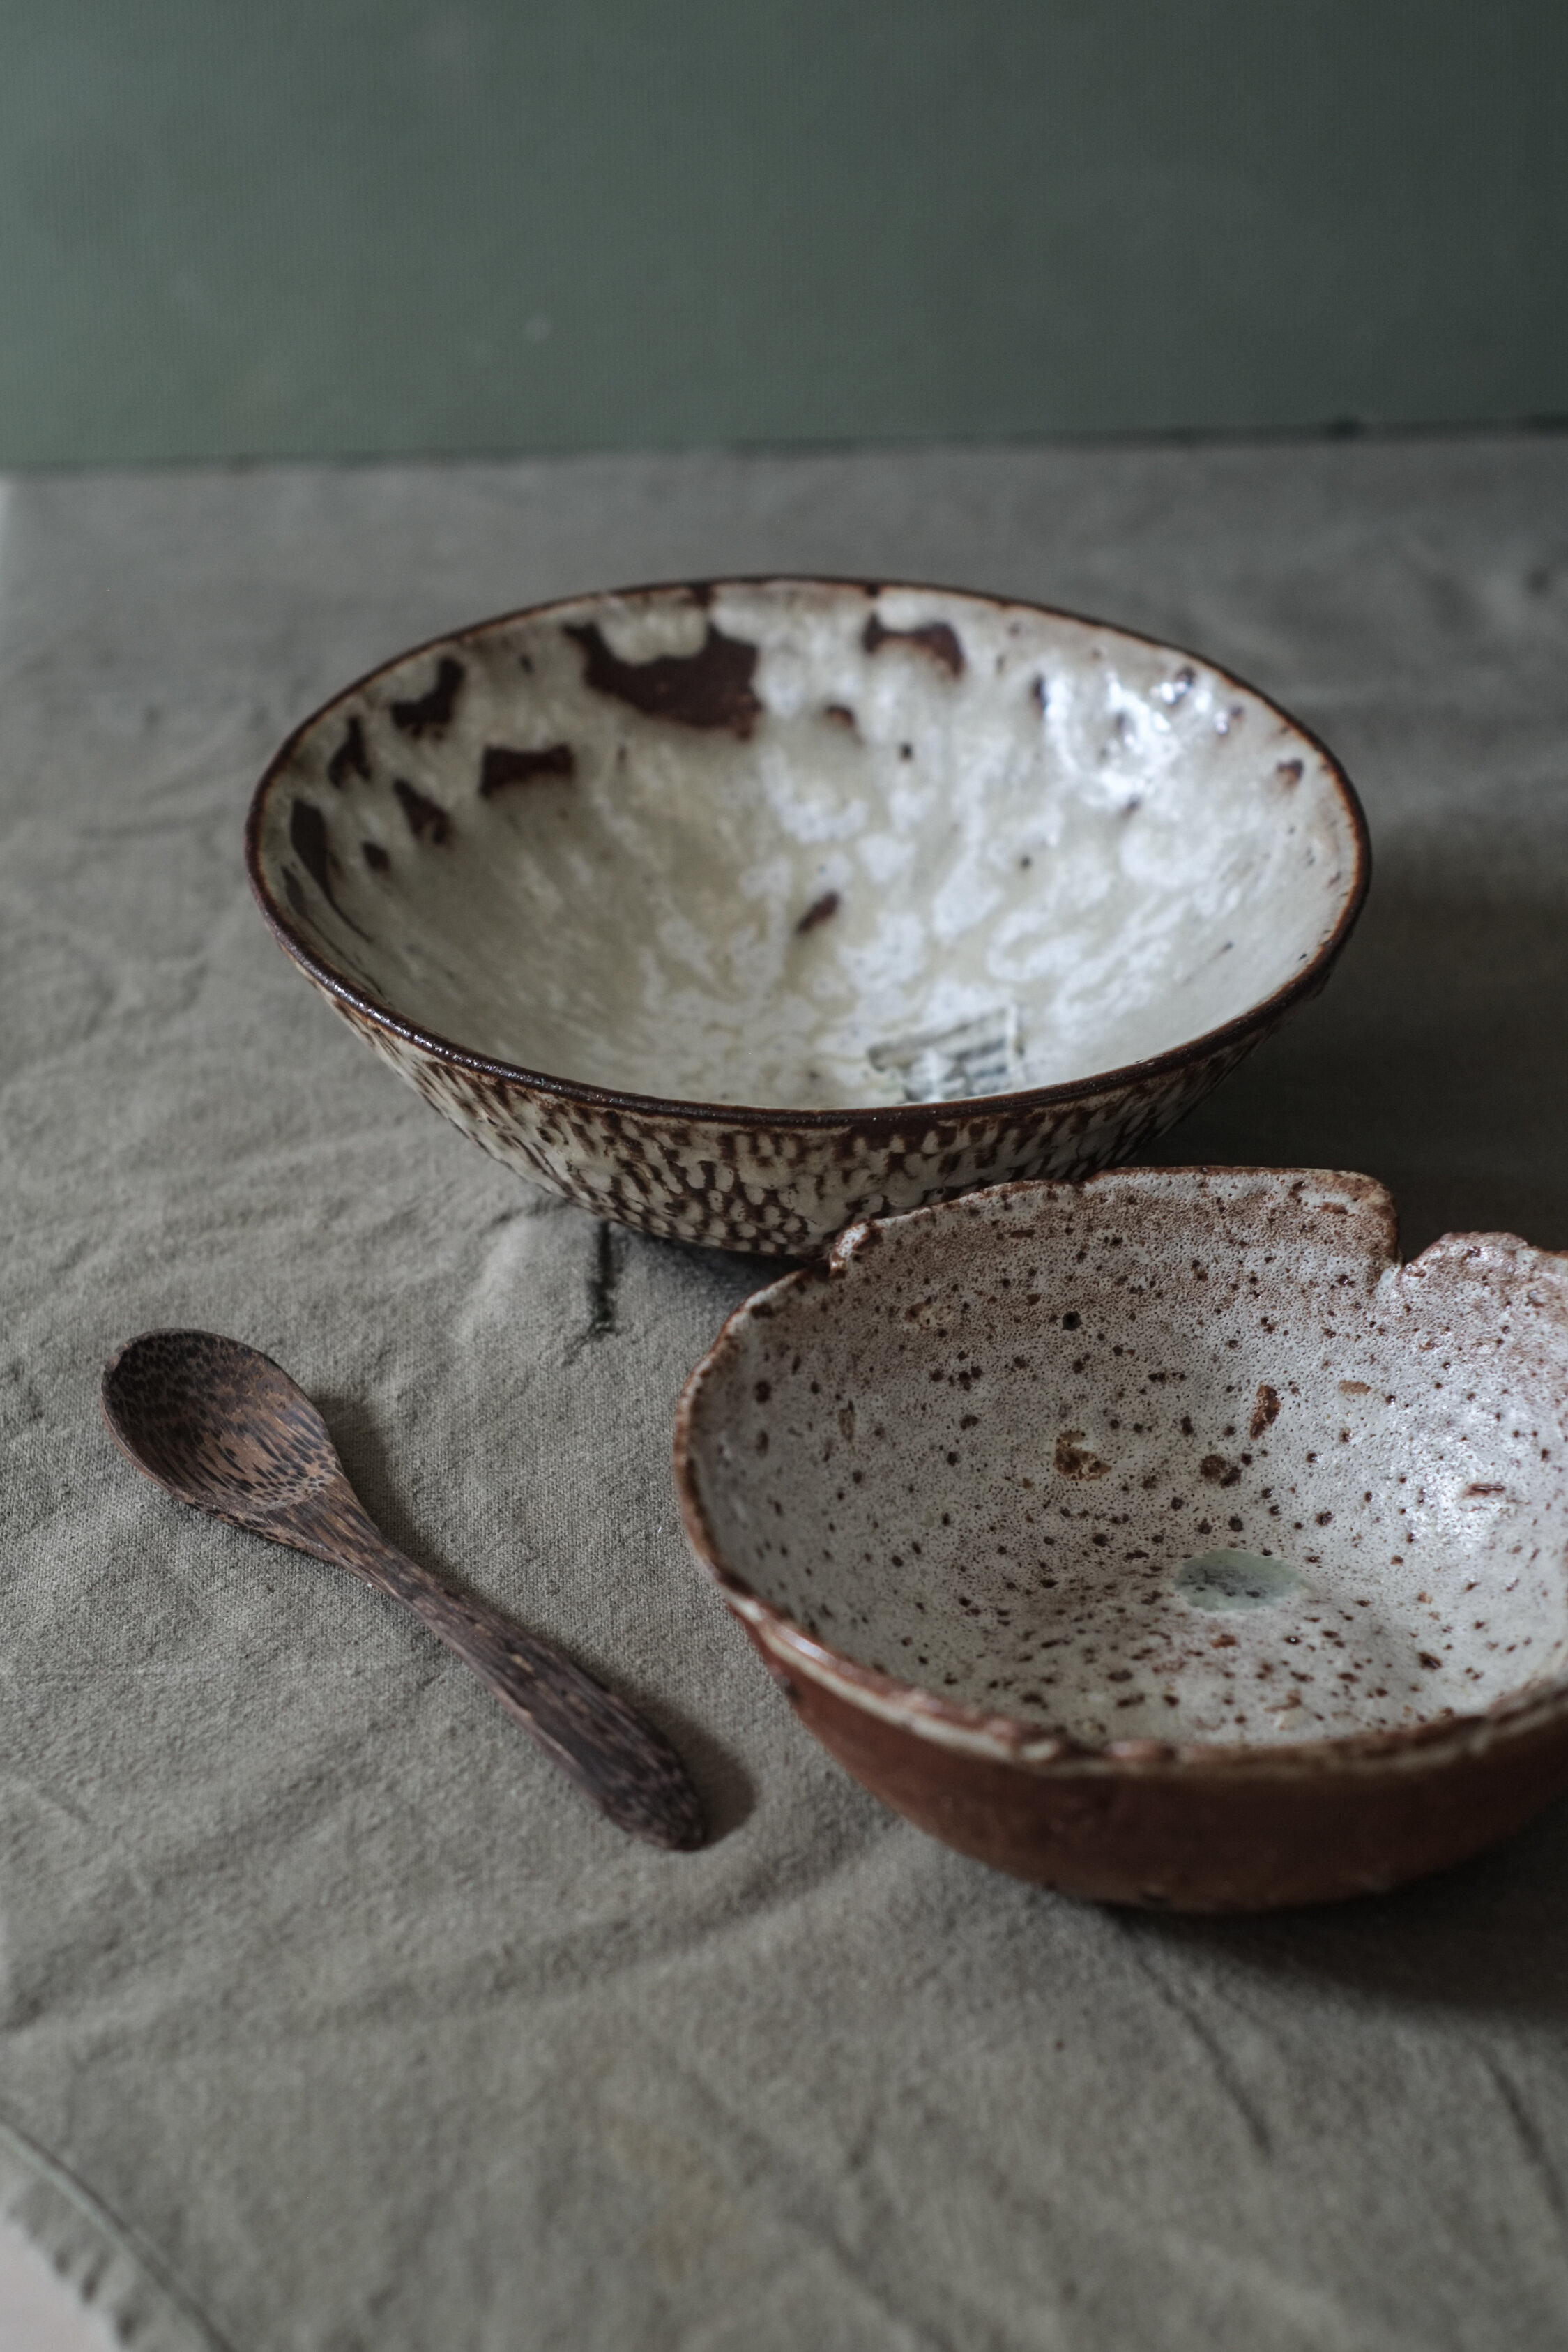
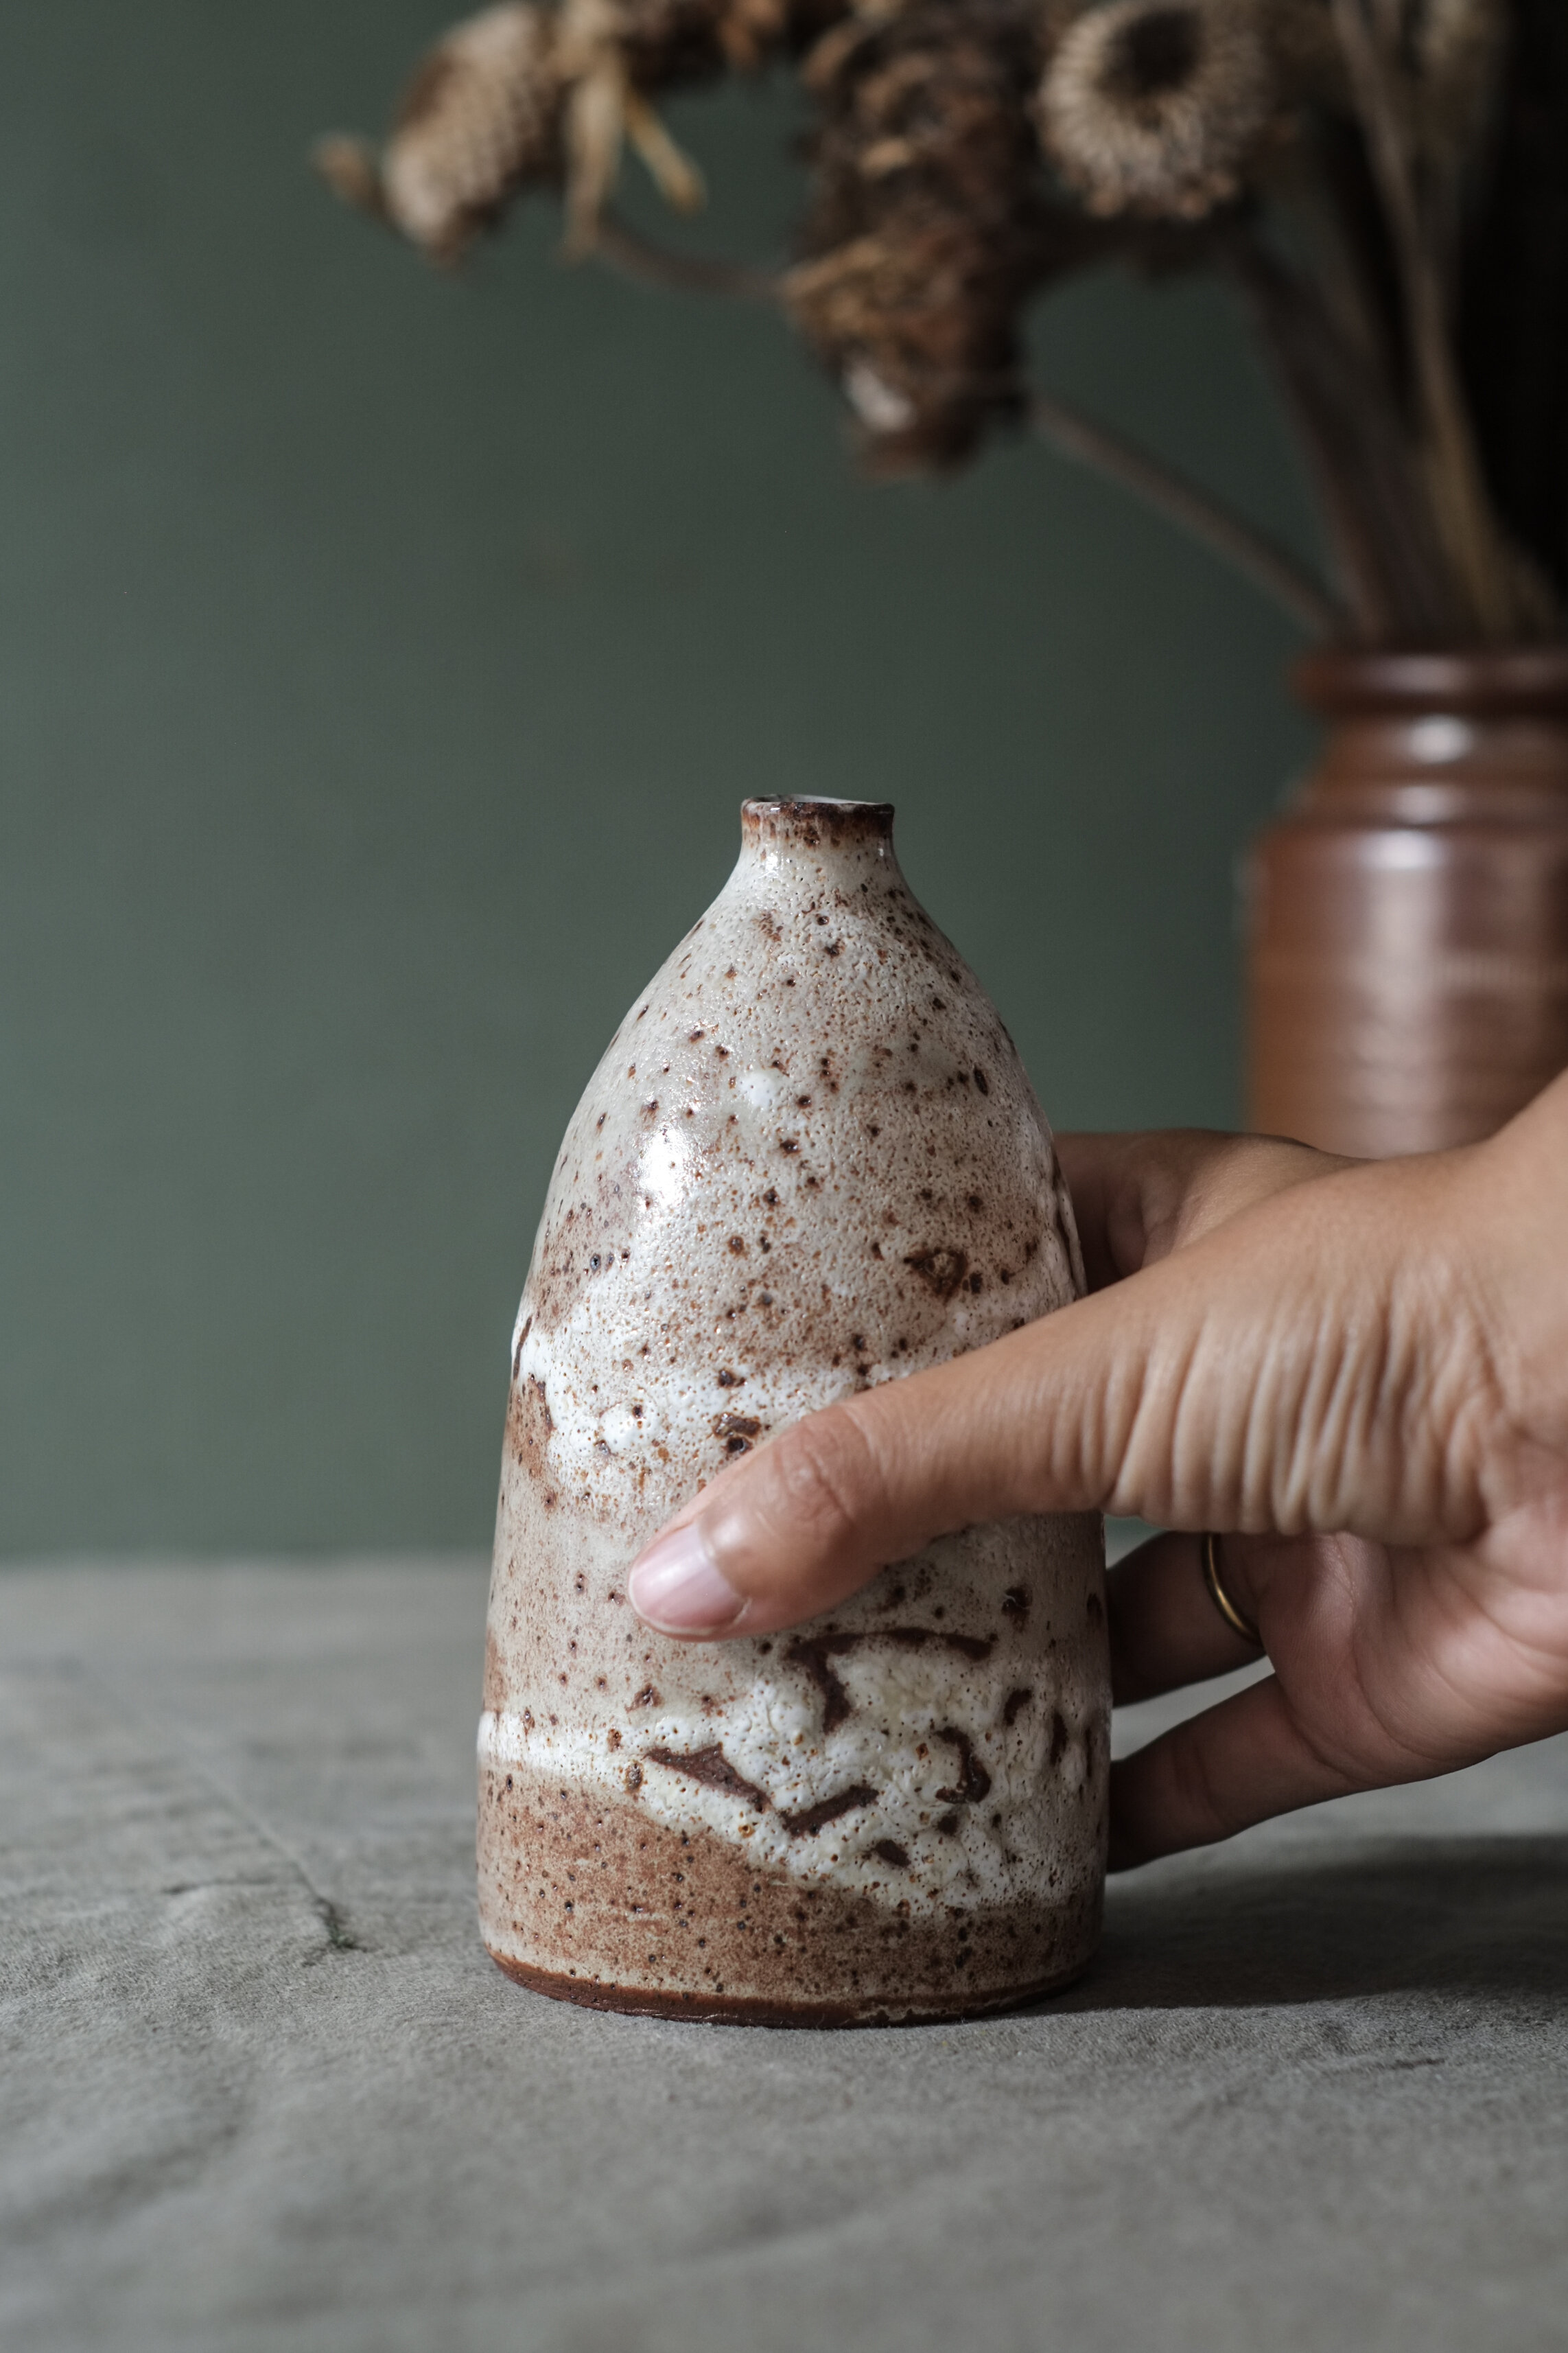
After being fired for 11 hours to over 1200 °C and cone 7, the stoneware wild clay emerged like phoenixes from the ashes (although, as I was using an electric kiln, there was no ash and no fire, thank goodness). The results were wonderful, the flecks of iron oxide in the clay body bled through the glaze to create beautiful speckling, little pieces of gravel were left protruding as the clay shrunk around them and bare areas of clay turned a lovely rich red velvet, chocolate brown.
What if my wild clay does not pass the plasticity and firing tests?
Your wild clay may fail the plasticity test, it may not be able to withstand high temperatures. Fear not! There are still plenty of creative uses for it. Here are three off the top of my head:
1. Why not try using it as a decorating slip?
Perfect if your clay failed the plasticity test, but passed the firing test. You can test this technique by painting the wild clay slip onto the outside of a leather hard pot. You could even try some sgraffito, where you carve or scratch into the wild clay to reveal the contrasting clay beneath.
Stoneware fired bowl with wild clay applied as a slip to a bowl thrown with commercial, buff coloured clay.
2. How about using your wild clay as a glaze?
If you found that your wild clay melted during the firing, you could try using it in place of a glaze, painting it or dipping it onto a bisque-fired pot. Be a little cautious if your clay magnificently failed the firing test (i.e. melted into a puddle) as it may run down and onto your kiln shelves when you fire it. You could modify the ‘wild clay glaze’ by adding stabilisers to stiffen the melt of the glaze. I know that Nadine Sansom @homefolkceramics is testing a rather fabulous coastal clay in this way.
3. What about mixing wild clay with commercial clay?
If your clay fails the plasticity test, you could try taming your wild clay by mixing it with your tried and tested commercial clay. Why not try adding the wild clay into the bought clay in different proportions and firing it to see if it is plastic enough to make with and/or can be fired to higher temperatures. This may be a good compromise if you really really want to make pieces incorporating wild clay into the body of the piece. Here is a good tutorial, if you’re not sure how to combine different clays.
Want to delve deeper into wild clay?
Here are some links to other potters for more inspiration and wild clay methods:
Digging Clay by Hand by Melissa Weiss
How to Process Clay, by Ancient Pottery
Mitch Iburg’s work using foraged clays, stones, fossils and glacial debris
Michael Hunt and Naomi Dalglish rustic, earthy pottery using wild mountain clay
If you’re ever passing through Dartmoor, Devon, a cream tea is a must at Powdermill Pottery where you can eat and drink from tea sets made by Joss Hibbs, using local, found materials.
Good luck on your own wild clay adventure…
You can watch a short video of my wild clay journey on instagram here. You can also follow me on Instagram @leelapottery to see my ongoing wild clay experiments.
Please get permission if collecting large quantities of clay from land owned by others. Furthermore, respectfully acknowledge the traditional owners of the land you are collecting clay from. For example, the traditional custodians of Australian land that you may collect clay from as well as Aboriginal and Torres Strait Islanders people there at present, or the rightful owners and stewards of land in the USA.
If you have any questions about using wild clay or you’d like to share your own wild clay journey, I’d love to hear from you in the comments below.


